How to paint a byzantine icon 101: List with the basics
How to paint a byzantine icon 101: or Shopping List with the basics. There are many resources on the web on how to make a byzantine icon, but lately I ‘ve given some advise on how to start from the scratch, (what to buy, where to do it) and I think it would be useful for beginners, wanting to set up, a small quite corner in their home for their hobby. So what you basically need:
Environment
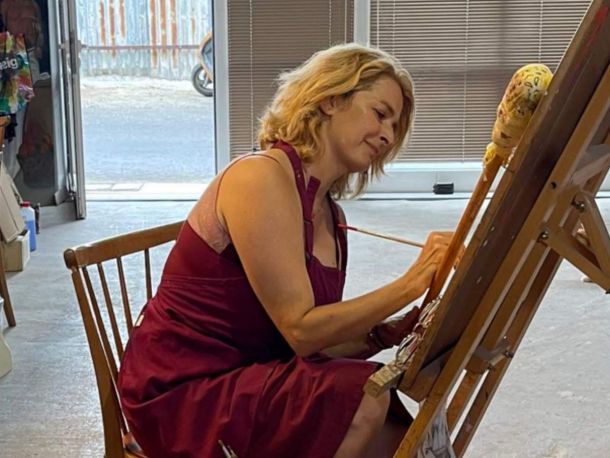
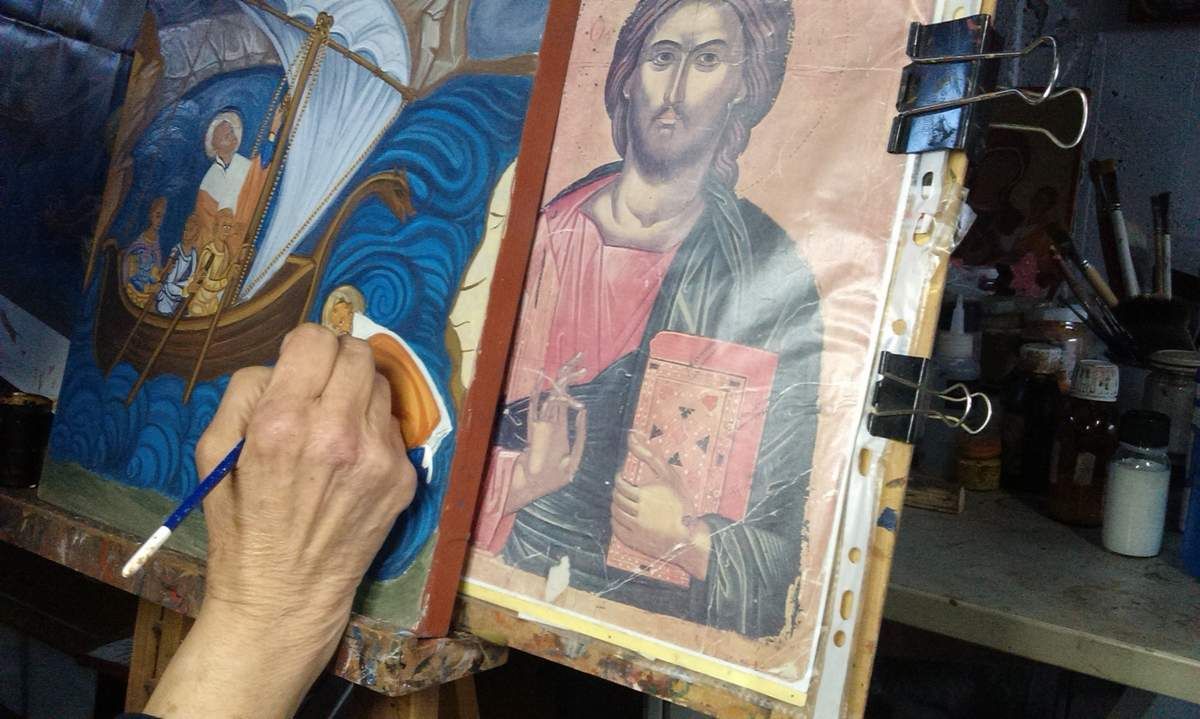
Some privacy, good light, an easel and a Mahlstick (you may see my post on that: https://angelicon.gr/blog/tools-painting-icons-mahlstick-and-how-make-one )
A Flat spatula
A jar of fresh clear water
A dirty cloth to dry the brushes
Additionally on the floor, (when there is a workshop with students) they use to put old newspapers that throw away after each lesson- [Mineral powders can spread to the whole house and cannot be easily removed even when they are dry]
Brushes
Synthetic brushes are just fine. They should be long (to maintain colour), round with a pointed nose
Should be kept rigorously cleaned (especially on the base) so they will keep their form. If egg is dried on them it ruins their shape so we clean them after we finish each stage.
As it regards types again, we keep it very simple. It is the way you use the brush, not the type, that makes the difference.
You need a couple of flat ones for the big surfaces and then a number 2, 4, 6 for the rest round ones.
You need a different brush for the coats (undercoats, uppercoats) and its solvents (water, soap alcohol, turpentine- depending on medium)
We never throw the old ones and we use them for lots of other things (even for just mixing the colours)
Colors
We basically use 10, others use 12, the point here is that the basic colours in nature are actually 3, so there is no need to search for “exotic” colors. Especially the students are urged to learn to make a colour out of the basics.
1.Titaneum white/ Blanc de titane
2. Black/ Noir d’ ivoire
3. Yellow ocher/ Ocre jaune
4. Cinnabar Red/ Vermillion claire
5. Rouge Anglais (a sort of brownish red)
6. Cadmium Red (a sort of Carmin)
7. Cadmium Yellow
8 Turquise Blue (or Blue Cobalt)
9. Green
10 Ombre vert/ Green Umbre
(view my post for more on colours :https://angelicon.gr/blog/color-recipes-byzantine-iconography-another-how-byzantine-icons
Dont worry if not finding the exact colors and dont buy anything really expensive- Again simplicity, time and practice is of great help.
Surface/ surfaces
I dont have a real knowledge on papers, but a good quality canson “book” for sketch and acquarelles would do fine just for the beggining and some initial drawings and application of proplasmos (base color for flesh but for clothes as well) and maybe the next layers- Egg-tempera works fine and covers the rough surface and afterwords shellac can be added on top too.
The icons are usually made on wood that is covered with cloth and gesso. Some craftsmen add gesso/primer on the plywood directly, this works fine, especially in small surfaces.
Old technique- To make the panel
You need: Pure cotton gauze and a mixture that is made with rabbit skin glue/ hide glue, Zinc and
a type of stucco
There are recipes on the web, but you may find pre- made icon boards available on the web, carved or not
Background- Gold
There are plenty of resources for that on the web
There is the bole technique, and the simple one with dark shellac and glue that we use for copper gold.
For the beginning we prefer colour backgrounds that is a good way to practice more on colour preparation and brush application and it has also a very beautiful effect
Coatings
White shellac to isolate color (put the next day or maybe after a couple of days) . For a cold northern climate shellac is perfect even as a final coat.
Finally if you need an overcoat there are plenty of varnishes- Oil based varnishes
Egg based varnishes (egg white)
Turpentine varnishes (Satin or gloss, or a mixture of them- there are specialised varnishes for egg tempera)
Wax varnishes (turpentine and bee’s wax)
There are plenty trustworthy suppliers of top coats and varnishes with shops all over the web

